Wednesday, March 28, 2012

Drawing II: Homework studies

These are the homework drawings for the first half of the semester.

1. My professor chose this one as the most successful...


2. I had fun doing this one! It is a 7 hour-long drawing. My professors always say that you can tell how much a person has really payed attention to what they're drawing by looking at the spine.


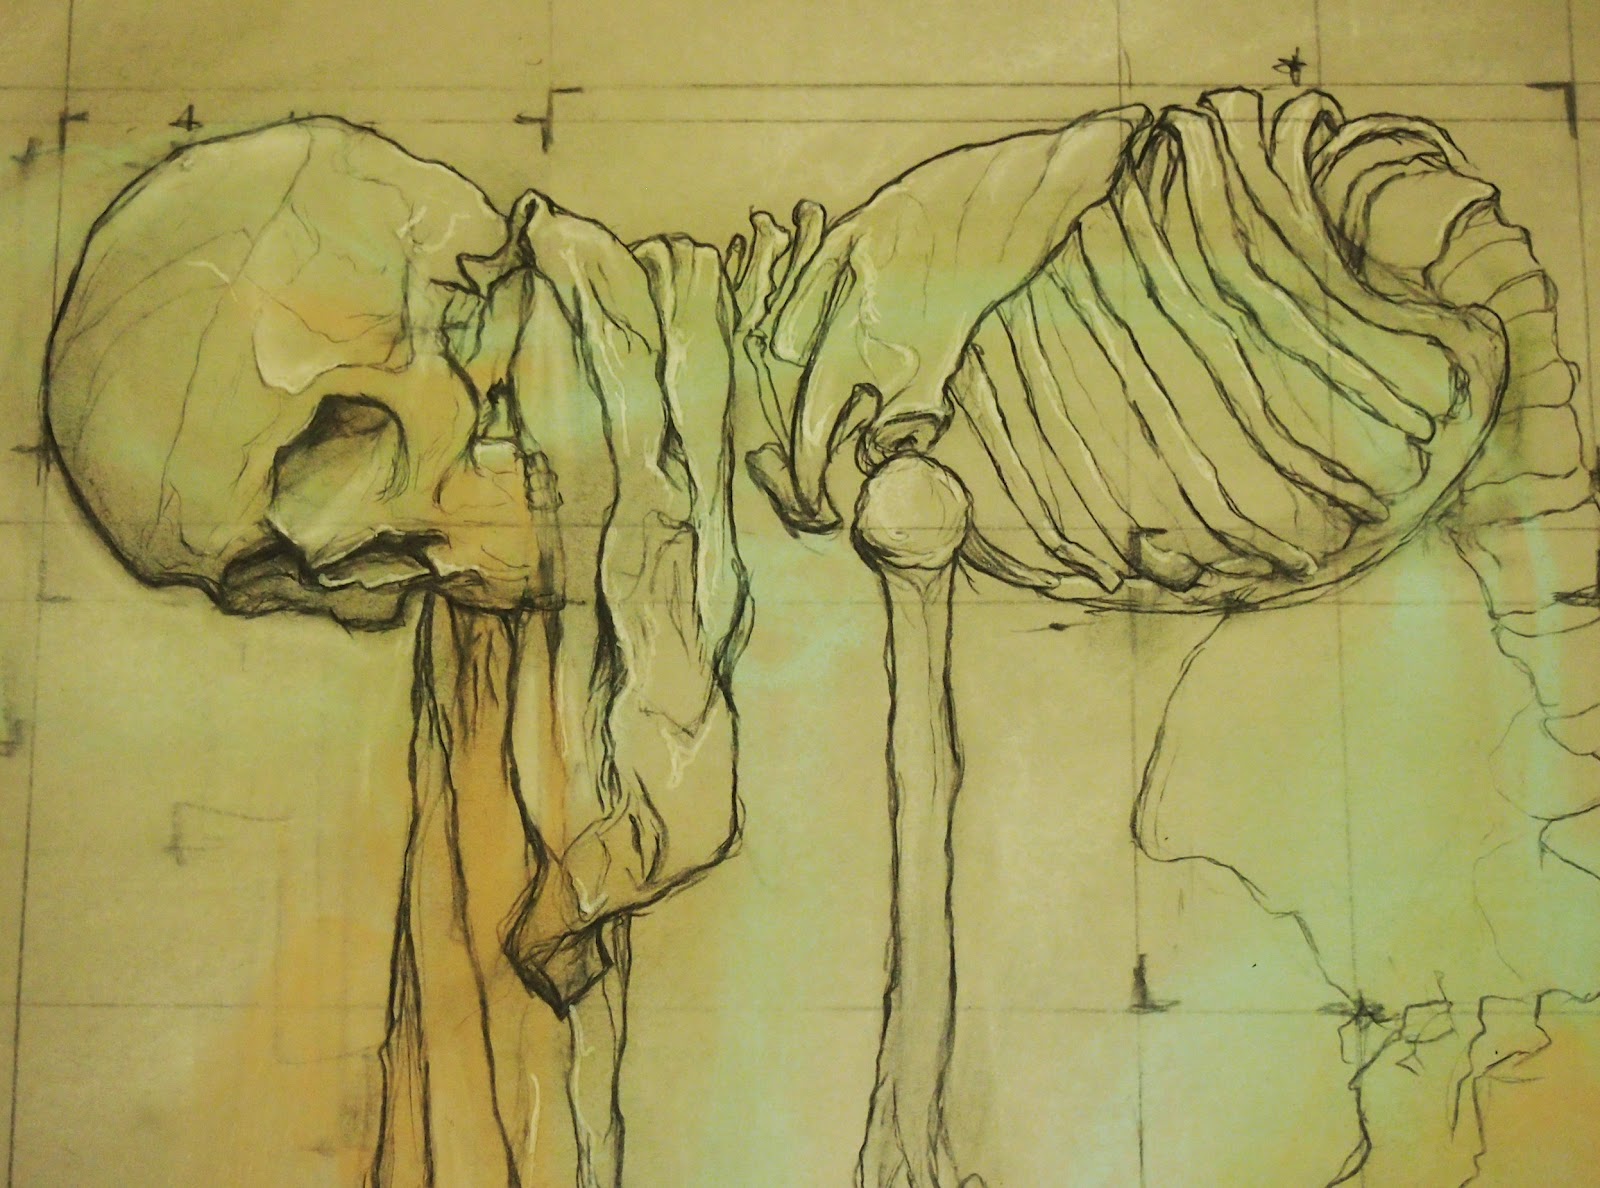
3. The perspective on this one was VERY challenging! The skeleton is leaning forward and I was looking through its ribcage.


4. I had the most fun with this next one. However, it wasn't chosen as one of my best. I assume it is because it looks too graphic, and it moves away from the basic contour and precise measuring that my professors were looking for. For the first time though, I used white chalk and a white pen with a thin tip.


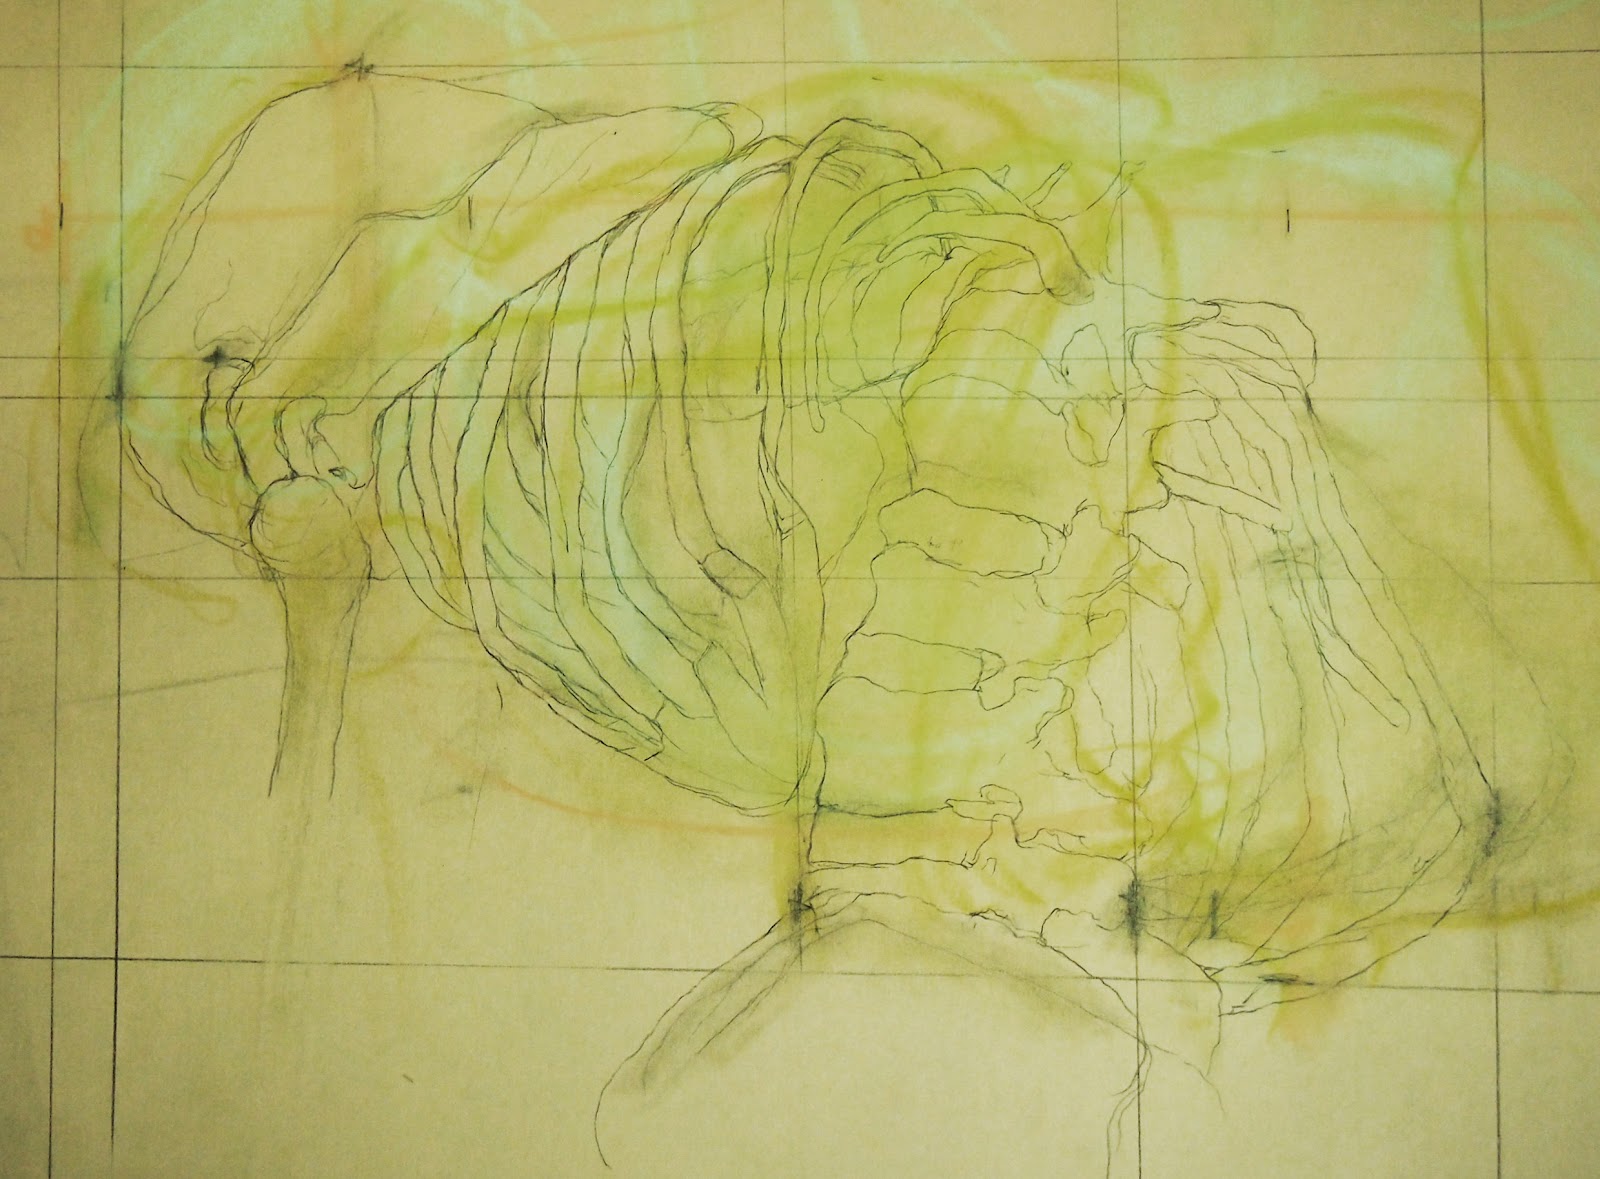
Just to show improvement, below is my first skull and ribcage drawing of the semester. 
  • Notice how narrow and small the ribcage is in comparison to the skull. 
  • The line quality is very uniform and boring. 
  • The drawing does not "breathe." 
  • It is very two-dimensional)


Monday, March 26, 2012

Drawing II Midterm Review

These are some of the drawings I've done in class this semester.

1. These are "base drawings" done the first week of class. They serve as a way to remember where you started off and how much you have improved (which hopefully you can tell, has been A LOT so far)! 


2. Compare the first figure drawing above to the next three. Although it is just a contour study, there is much more accuracy and by far better line quality. This was done with a male model that would alternate between two poses (one in front of the still life, and the other behind it). The still life included a box with a cow skull and long cylinder on top. 


3. This drawing was chosen by my professor as my best measurement drawing. He explained that Block A (feet to hips), Block B (rib caje), and Block C (skull) were very clearly seen. On the left is a female model standing next to a skeleton on the right. The second image is a detail of the quick contour of Block C.


4. This is a quick gesture drawing using boxes meant to help you understand perspective and that the positioning of the blocks are almost never aligned. I was struggling with this concept of using "boxes" at the beginning, but this was a great breakthrough drawing for me. My professors actually showed it to the class as an example of what they were looking for! They said I captured the essence of the figure and that my marks were very "gesture-like" in the sense that they are free and could easily be altered....I was happy :D


5. Here is an example of when I was struggling with the boxes. With the figure on the right, I was finding it hard to understand the perspectives of the skull and rib cage. When I got stuck, I turned to a contour drawing (seen on the left and in detail in the second image). I find it always helps me see better.